Suture Removal Procedure: A Comprehensive Guide
This guide details suture removal, a crucial skill for healthcare professionals, encompassing assessment, technique, and post-removal care for optimal patient outcomes.
Wound closure is a fundamental aspect of healthcare, and sutures play a vital role in facilitating the healing process. These specialized threads, or strands, are expertly utilized by healthcare professionals to meticulously stitch together tissues following an injury or a surgical procedure. Sutures aren’t merely about bringing wound edges together; they establish a temporary, yet crucial, bridge supporting the body’s natural repair mechanisms.
Beyond simple approximation, sutures effectively distribute tension evenly across wound edges, minimizing stress and promoting optimal healing. Understanding the different types of sutures – absorbable and non-absorbable – is paramount, as is recognizing appropriate suturing techniques. This knowledge base is essential for successful wound management and ultimately, positive patient outcomes. The process culminates in suture removal, a procedure requiring careful assessment and precise execution.
What are Sutures?
Sutures are medical threads meticulously crafted for the purpose of closing wounds or surgical incisions. Their primary function is to bring tissues into close apposition, facilitating the body’s natural healing response. These aren’t simply threads; they are medical devices designed with specific properties to ensure biocompatibility and optimal wound support.
Typically constructed from a variety of materials, sutures can be categorized as either absorbable or non-absorbable, each suited for different clinical scenarios. Application generally involves a needle with an attached length of thread, skillfully manipulated to approximate wound edges. Sutures create a temporary scaffold, allowing collagen formation and tissue regeneration to occur. They are a cornerstone of modern surgical practice and wound care, ensuring effective and aesthetically pleasing wound closure;
Types of Sutures: Absorbable vs. Non-Absorbable
Sutures are broadly classified into two main categories: absorbable and non-absorbable, based on their degradation characteristics within the body. Absorbable sutures, as the name suggests, are broken down by the body’s enzymatic processes over time, eliminating the need for removal. These are often used for internal tissues and deep wound closures.
Conversely, non-absorbable sutures maintain their tensile strength for extended periods and require manual removal once the wound has sufficiently healed. These are frequently employed for skin closures where maintaining wound approximation is crucial until complete healing occurs. The choice between absorbable and non-absorbable sutures depends on factors like wound location, tension, and desired healing time. Understanding these differences is vital for selecting the appropriate suture material for each clinical situation.
Nonabsorbable Sutures for Skin Wounds
Nonabsorbable sutures are frequently the preferred choice for closing skin wounds due to their ability to maintain wound edges together for the duration of the healing process. Common materials include silk, nylon, polypropylene, and polyester. These sutures don’t break down naturally within the body, providing consistent support until they are manually removed by a healthcare professional.
The selection of a specific nonabsorbable suture depends on factors like patient sensitivity, wound location, and the desired aesthetic outcome. Polypropylene, for example, is known for its minimal tissue reactivity, while nylon offers excellent tensile strength. Proper suture selection and technique are crucial for minimizing scarring and ensuring optimal wound closure. Ultimately, these sutures offer reliable and predictable wound approximation for skin repairs.
Suturing Techniques: An Overview
Various suturing techniques exist, each suited for different wound characteristics and desired cosmetic results. Simple interrupted sutures are the most common, involving individual stitches with knots at each end, providing secure closure and easy removal. Continuous sutures, utilizing a single strand woven back and forth, offer speed but may compromise wound support if a section breaks.
Subcuticular sutures, placed beneath the skin’s surface, create a nearly invisible scar, ideal for cosmetic areas. Vertical mattress sutures distribute tension effectively across deeper tissues, while horizontal mattress sutures are useful for everting wound edges. The chosen technique impacts wound healing, tension distribution, and the final aesthetic appearance. Mastering these techniques is fundamental for healthcare professionals performing wound closure.
Distributing Tension with Sutures
Effective wound closure relies on evenly distributing tension across the wound edges, preventing stress concentration that can lead to dehiscence – wound separation. Sutures aren’t merely holding tissues together; they’re acting as a temporary scaffold supporting the body’s natural healing process. Techniques like vertical mattress sutures excel at distributing tension in deeper tissues, minimizing stress on the skin.
Proper suture placement and knot tying are crucial. Too much tension can compromise blood supply, hindering healing and increasing scar formation. Conversely, insufficient tension results in gaping wounds. Understanding tissue properties and selecting appropriate suture materials are also vital for optimal tension management, ultimately promoting a strong and aesthetically pleasing wound closure.
Pre-Removal Assessment & Preparation (April 16, 2026)
Prior to removal, a healthcare provider’s order is essential, alongside a thorough wound assessment to confirm adequate healing and readiness for suture removal.
Physician/Nurse Practitioner Order Requirement
Before initiating suture removal, a valid order from a physician or nurse practitioner is absolutely mandatory. This requirement ensures patient safety and adherence to established medical protocols. The order confirms that the healthcare provider has evaluated the wound’s healing progress and deems suture removal appropriate at this specific time.
Without a proper order, proceeding with suture removal could potentially compromise wound integrity, increase the risk of infection, or lead to unfavorable cosmetic outcomes. The order should clearly specify the sutures to be removed and any specific instructions regarding wound care post-removal. Documentation of this order within the patient’s medical record is crucial for legal and quality assurance purposes.
This step underscores the importance of collaborative practice and responsible healthcare delivery, guaranteeing that suture removal is performed only when clinically indicated and authorized by a qualified healthcare professional.
Wound Assessment Before Suture Removal
A thorough wound assessment is paramount prior to any suture removal attempt. This evaluation determines the wound’s readiness for suture removal and identifies any potential complications. Assess the wound for signs of infection, including redness, swelling, warmth, pain, and purulent drainage. Evaluate the wound edges for adequate approximation – are they still holding together well?
Note the presence of any granulation tissue, which indicates healthy wound healing. Palpate the wound site to assess for any underlying tenderness or fluctuance, suggesting a possible abscess. Carefully observe the skin surrounding the wound for any signs of skin breakdown or maceration.
Document all findings meticulously, as this information will guide your decision-making process and inform post-removal care. A comprehensive assessment minimizes risks and promotes optimal healing.
Observing for Wound Separations
Diligent observation for wound separations is a critical component of the pre-removal assessment. Carefully inspect the wound line for any gaps or dehiscence – areas where the wound edges are pulling apart. Pay close attention to areas under tension, as these are more prone to separation. Look for any signs of wound widening or increased redness along the suture line, which could indicate underlying issues.
Gentle palpation around the wound can help identify subtle separations that may not be visually apparent. Assess whether the separation is superficial or extends into deeper tissues. Document the location and extent of any observed separations accurately.
If significant separation is noted, suture removal should be deferred, and the healthcare provider should be notified immediately. Proceeding with removal in the presence of separation could compromise wound closure and increase the risk of complications.
Determining Readiness for Removal
Assessing wound readiness for suture removal requires a comprehensive evaluation. Generally, sutures can be removed when the wound edges are well-approximated and demonstrate sufficient strength. This timeframe varies based on wound location, patient factors, and suture type – typically ranging from 5 to 14 days.
Observe for signs of adequate healing, including minimal inflammation, absence of infection (redness, swelling, purulent drainage), and the formation of new epithelial tissue. Ensure the wound has progressed beyond the inflammatory phase and entered the proliferative phase.
A healthcare provider’s order is always required before proceeding with suture removal. Consider the patient’s overall health and any underlying conditions that may impair wound healing. If any concerns exist, consult with the provider before removal.
Sterile vs; No-Touch Technique Considerations
The choice between sterile and no-touch techniques for suture removal depends on the patient’s condition and wound characteristics. Typically, sterile technique isn’t mandatory for routine suture removal, especially in clean, uncomplicated wounds. The “no-touch” technique, utilizing forceps to grasp the suture without directly touching the skin, is often sufficient.
However, sterile technique is crucial for patients who are immunocompromised, have open wounds with a high risk of infection, or if the wound is located in a particularly vulnerable area. This involves using sterile instruments, gloves, and drapes to minimize contamination.
The technique employed should align with the method of initial suturing. Always prioritize patient safety and adhere to established institutional protocols regarding infection control.
Suture Removal Tools & Materials
Essential tools include suture removal kits, needle holders, scissors, forceps, sterile gauze, and antiseptic solutions, ensuring a safe and effective removal process.
Suture Removal Kit Contents
A comprehensive suture removal kit is fundamental for a safe and efficient procedure. Typically, these kits contain several key components designed to minimize risk and maximize comfort for the patient. Essential items include sterile gloves to maintain a clean working environment and prevent infection. High-quality suture scissors, often with a guarded blade, are crucial for precisely cutting the suture strand without damaging surrounding tissue.
Furthermore, a robust pair of needle holders facilitates a secure grasp of the suture during removal. Sterile forceps are indispensable for gently lifting and manipulating the suture, aiding in its extraction. The kit also incorporates sterile gauze pads for cleaning the wound site and absorbing any minor bleeding. A selection of antiseptic solutions, such as povidone-iodine or chlorhexidine, is vital for disinfecting the area before and after suture removal, reducing the likelihood of post-procedural infection. Finally, adhesive bandages or dressings are included to protect the wound following suture removal and promote optimal healing.
Needle Holders and Scissors
Needle holders are essential instruments, designed with textured jaws to firmly grasp the suture, providing control during the removal process. They aren’t used to cut, but to stabilize and maneuver the suture for precise lifting. Different jaw designs exist, catering to various suture sizes and materials. Proper handling prevents damage to the suture or surrounding tissues;
Suture scissors are specifically engineered for cleanly cutting suture strands. Many feature a blunt tip or a protective guard to minimize the risk of accidental skin punctures or tissue trauma. The blade’s sharpness is paramount for a smooth, efficient cut. Several scissor types are available, including those with straight or curved blades, allowing access to sutures in challenging locations. Maintaining the sharpness of these instruments is crucial for optimal performance and patient safety. Regular inspection and replacement are necessary to ensure effective suture removal.
Forceps for Suture Grasping
Forceps play a vital role in suture removal, providing a secure grip on the suture strand as it’s lifted from the skin. Typically, non-toothed forceps are preferred to avoid damaging the suture material, though fine-toothed forceps can be used cautiously for slippery sutures. The selection of forceps depends on the suture type and the clinician’s preference.
Proper technique involves grasping the suture close to the skin surface, minimizing tension on the wound edges. Avoid excessive force, which could cause tissue trauma or suture breakage. Sterile forceps are crucial when a sterile technique is required, ensuring no introduction of pathogens into the wound. Different sizes and shapes of forceps are available, allowing for maneuverability in various anatomical locations. Careful handling and appropriate selection contribute to a smooth and atraumatic suture removal process, promoting optimal wound healing.
Sterile Gauze and Antiseptic Solution
Sterile gauze is essential for maintaining a clean field during suture removal, absorbing any bodily fluids, and providing a barrier between instruments and the surrounding skin. It’s used to gently clean the wound site before and after suture extraction, minimizing the risk of infection. Complementing the gauze, an antiseptic solution – such as povidone-iodine or chlorhexidine – is applied to disinfect the area, further reducing microbial load.
The choice of antiseptic depends on patient allergies and institutional protocols. Proper application involves allowing the solution to dry completely before proceeding with suture removal. Sterile technique dictates that both gauze and antiseptic solution must be handled with sterile gloves and instruments. Post-removal, sterile gauze is used to apply gentle pressure, controlling any minor bleeding and preparing the wound for dressing application, promoting optimal healing and preventing complications.
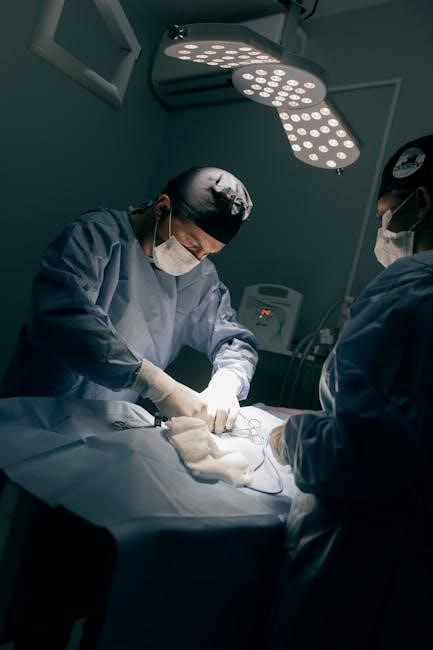
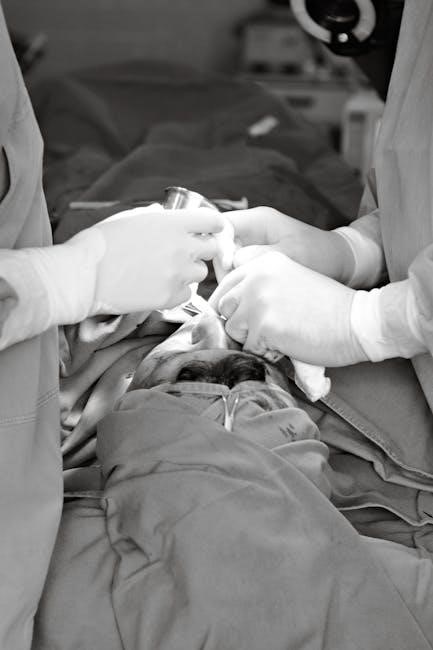
Step-by-Step Suture Removal Procedure
Careful execution is key; prepare the patient, cut the suture strand, gently grasp with forceps, lift, and pull, avoiding trauma to the healing tissues.
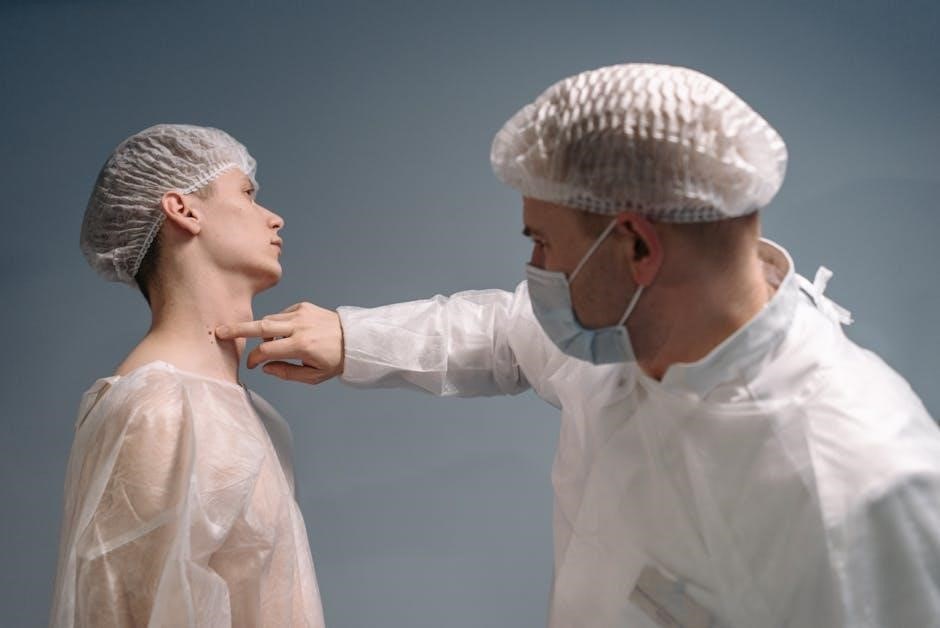
Preparing the Patient and Work Area
Prior to initiating suture removal, ensure a calm and reassuring environment for the patient. Thoroughly explain the procedure, addressing any anxieties or concerns they may have. Confirm the physician or nurse practitioner’s order for suture removal is present and valid, verifying the correct patient and wound site.
Establish a clean and organized work area, gathering all necessary supplies – suture removal kit, sterile gauze, antiseptic solution, and appropriate documentation forms. Position the patient comfortably, ensuring adequate lighting and access to the wound. Privacy is paramount; drape the area appropriately to maintain patient dignity.
Perform hand hygiene meticulously, and don gloves. Assess the patient for any allergies, particularly to adhesives or antiseptics. A focused assessment of the wound itself is crucial before proceeding, noting any signs of infection or complications. Proper preparation minimizes discomfort and promotes a safe, efficient procedure.
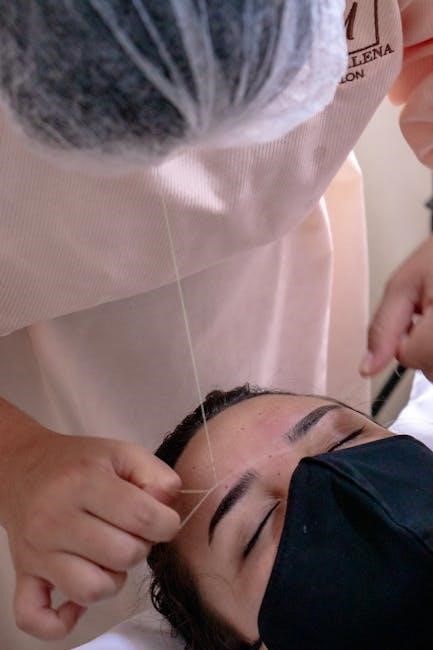
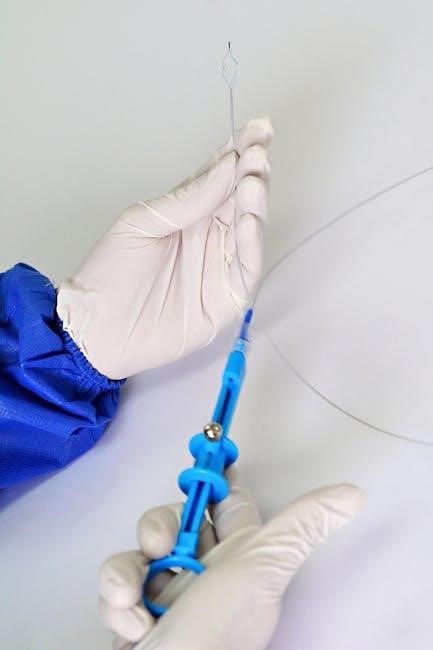
Cutting the Suture Strand
Using sterile suture scissors, carefully cut the suture strand as close to the skin as possible, avoiding any unnecessary tension or trauma to the surrounding tissue. It’s crucial to cut above the knot, not directly on it, to prevent the knot from unraveling and potentially causing wound dehiscence. Ensure the scissors are sharp to achieve a clean cut and minimize tissue drag.
Maintain a stable grasp of the suture with forceps during the cutting process. Visualize the suture’s path beneath the skin to avoid inadvertently damaging underlying structures. A slight lifting action with the forceps can aid in precise cutting. Dispose of the cut suture strand immediately into a designated sharps container, adhering to biohazard waste protocols.
This initial cut facilitates easier grasping and removal of the remaining suture length, reducing patient discomfort and promoting a smooth procedure. Precision and caution are key during this step.
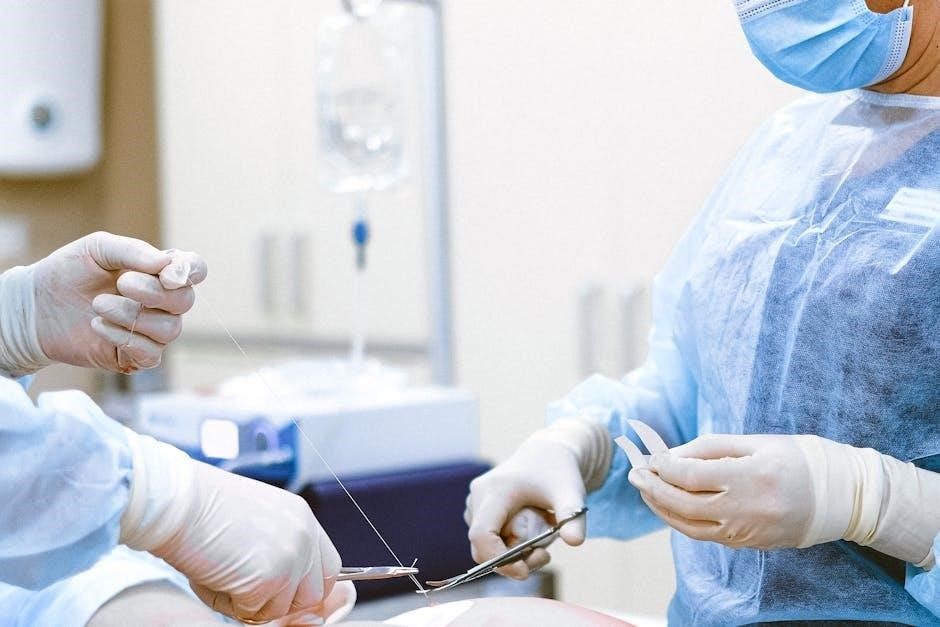
Grasping the Suture with Forceps
After cutting the suture strand, utilize sterile forceps to gently grasp the suture material as close to the skin surface as feasible. Avoid excessive pressure that could distort the tissue or cause discomfort to the patient. The forceps should securely hold the suture without crushing or damaging it, maintaining its integrity for smooth removal.
Position the forceps perpendicular to the suture’s direction, ensuring a firm grip. A rat-tooth forceps is often preferred for its ability to securely grasp the suture. Carefully elevate the suture loop slightly, observing the underlying skin for any signs of adhesion or inflammation.
Proper grasping is essential for controlled lifting and pulling, minimizing trauma and promoting a clean suture extraction. Consistent technique ensures patient comfort and optimal wound healing.

Gentle Lifting and Pulling of the Suture
With the suture securely grasped, gently lift it upwards, following the curve of its path through the skin. Avoid a sharp, forceful pull, as this can cause unnecessary pain and potentially damage the surrounding tissue. The lifting action should be slow and controlled, allowing the suture to disengage from the underlying layers.
Simultaneously, apply a gentle pulling motion in the direction of the suture’s entry point. Maintain a steady, even pressure, avoiding jerking or sudden movements. Observe the wound edges as the suture is removed, ensuring they remain approximated and without signs of separation.

If resistance is encountered, do not force the suture. Re-assess the area and consider a different approach to avoid tissue trauma.
Avoiding Tissue Trauma During Removal
Minimizing tissue trauma is paramount during suture removal. A slow, deliberate approach is key; avoid rushing the process. Sharp, jerky movements can cause pain, bleeding, and potentially disrupt the healing wound edges. Always lift and pull the suture along its path, rather than perpendicularly.
If resistance is met, do not force the suture. Instead, carefully inspect the area to identify the cause – perhaps a knot is buried deeper than anticipated, or there’s slight granulation tissue adherence. Gentle manipulation and re-positioning of the forceps can often resolve the issue.
Remember, the goal is to remove the suture with minimal disturbance to the newly healed tissues. Prioritizing gentle technique ensures optimal cosmetic outcomes and reduces the risk of complications.
Post-Removal Wound Care & Documentation
Following suture removal, proper wound care and detailed documentation are essential for continued healing and a complete patient record.
Wound Cleaning and Dressing Application
After suture removal, meticulous wound cleaning is paramount to prevent infection and promote optimal healing. Begin by gently cleansing the area with a sterile saline solution or a mild antiseptic, carefully removing any debris or dried blood. Avoid harsh scrubbing, which can disrupt the healing process and cause trauma to the newly exposed tissue.
Pat the wound dry with a sterile gauze pad. Assess the wound bed for signs of infection, such as redness, swelling, warmth, or purulent drainage. Based on the wound’s characteristics and the healthcare provider’s orders, apply an appropriate dressing; This may include a simple adhesive bandage for minor wounds or a more complex dressing, such as a hydrocolloid or foam dressing, for larger or more complex wounds.
Ensure the dressing completely covers the wound and secures it in place. Provide the patient with clear instructions on dressing changes and signs of infection to watch for.
Patient Education on Wound Care
Comprehensive patient education is vital following suture removal to ensure proper wound healing and minimize complications. Clearly explain the importance of keeping the wound clean and dry, advising patients to avoid excessive moisture exposure. Instruct them on appropriate wound cleaning techniques, typically gentle washing with mild soap and water.
Detail the signs of infection – increased pain, redness, swelling, pus, or fever – and emphasize the need to promptly report any concerns to their healthcare provider. Provide specific instructions regarding dressing changes, including frequency and type of dressing to use. Advise patients to avoid activities that could put tension on the wound or disrupt the healing process.
Reinforce the importance of following any prescribed medication regimens and attending follow-up appointments. Offer written instructions for future reference and encourage questions.
Documenting Suture Removal in Medical Records
Accurate and thorough documentation of suture removal is paramount for legal and continuity of care purposes. Medical records should clearly state the date and time of suture removal, the location of the wound, and the type of sutures removed – absorbable or non-absorbable.
Detail the condition of the wound at the time of removal, noting any signs of infection, inflammation, or dehiscence. Record any difficulties encountered during the removal process, such as tightly knotted sutures or tissue adherence. Document the patient’s tolerance of the procedure and any associated pain levels.
Include details of post-removal wound care instructions provided to the patient, and any specific follow-up appointments scheduled. Ensure the documentation is signed and dated by the healthcare professional performing the procedure.
Essential Elements of Suture Removal Documentation
Comprehensive documentation requires specific details for a complete medical record. Crucially, include the patient’s name, medical record number, and date of service. Precisely identify the wound location and the number of sutures removed. Specify the suture material – noting if it was absorbable or non-absorbable – and the suture size used.
Document a detailed wound assessment before and after suture removal, including wound appearance (color, redness, swelling), presence of drainage, and any signs of infection. Record the patient’s reported pain level during and after the procedure, and any interventions used for pain management.
Finally, meticulously document the post-removal instructions given to the patient regarding wound care, potential complications, and follow-up appointments. A clear, concise, and accurate record is vital.
Potential Complications and Monitoring
Post-suture removal, monitor for signs of infection, including increased pain, redness, swelling, warmth, and purulent drainage. Wound dehiscence – or separation – is another potential complication requiring immediate attention. Patients should be instructed to report any unusual symptoms promptly.
Hematoma formation, while usually minor, should be observed for, especially in patients with bleeding disorders or those on anticoagulant medication. Allergic reactions to topical antiseptics or dressings are possible, necessitating alternative product use.
Delayed wound healing can occur, particularly in individuals with compromised immune systems or underlying medical conditions. Regular follow-up appointments are crucial to assess wound progression and address any emerging concerns, ensuring optimal healing and patient well-being.